

Key Takeaways
Why Pollinators Matter — Even in a Small Garden
Pollinators — bees, butterflies, hoverflies, moths, and even some beetles — transfer pollen between flowers, enabling plants to produce fruit and seeds. Without them, many vegetables, fruits, and flowering plants would yield far less or not at all. Even in a compact backyard or on a balcony, creating pollinator habitat contributes to the broader ecosystem health of your neighborhood.
The good news for small-space gardeners is that pollinators do not require acres of meadow. A thoughtfully planted window box or a few well-chosen containers can provide genuine forage and nesting support. Before the growing season, use a spring garden readiness checklist to assess your soil and beds so your pollinator plants get the best possible start.
Group Plants for Greater Impact
Pollinators are more reliably drawn to clusters of the same plant species than to single specimens scattered across a bed. Where space allows, plant at least three of the same variety together. Even in a container garden, grouping pots of related flowers creates a more visible and enticing target for visiting insects.
Understanding what pollinators need — food (nectar and pollen), water, shelter, and safety from pesticides — gives you a clear framework for every decision below.
What You'll Need Before You Start
Gathering the right materials upfront will make the planting process straightforward. You don't need specialized equipment, but a few basics will ensure your plants establish well and your habitat features function properly.
What you will need
Trowel or hand shovel
Used for digging planting holes and transplanting seedlings into beds or containers.
Watering can or garden hose
Essential for establishing newly planted specimens and maintaining moisture during dry spells.
Shallow dish or birdbath
Provides a clean water source for bees, butterflies, and other pollinators visiting the garden.
Containers or planters
Allow pollinator-friendly plants to be grown on patios, balconies, or paved areas without in-ground beds.
If you're working with an existing outdoor seating area or patio, our guide to setting up a comfortable outdoor living space can help you integrate pollinator plantings alongside your seating zones without sacrificing comfort.
Step-by-Step: Building Your Pollinator Garden
Follow these steps in sequence to create a small garden that consistently attracts and supports pollinators across the growing season. Most steps can be completed in a single weekend afternoon, with planting spread across a few sessions as you acquire plants.
Choose native and pollinator-friendly plants
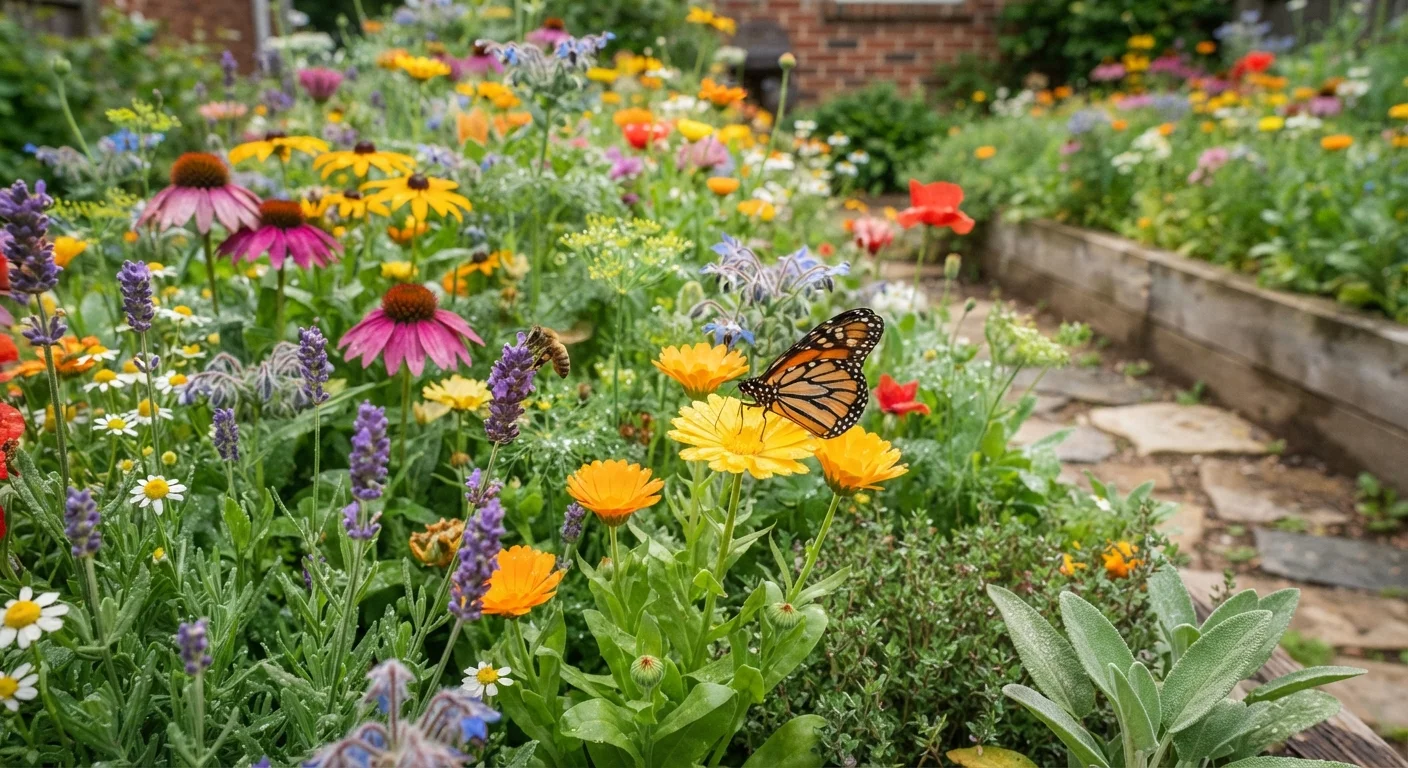
Native plants have evolved alongside local pollinator species and tend to offer the most accessible nectar and pollen. Research which natives grow well in your USDA hardiness zone — good starting points include coneflower (Echinacea), black-eyed Susan (Rudbeckia), native asters, and wild bergamot. Herbs like lavender, borage, and catmint are also reliable pollinator magnets and work well in tight spaces.
For a productive pairing strategy, see our companion planting guide to combine pollinator plants with your vegetables and herbs.
Plan for continuous bloom across seasons
A garden that only flowers in midsummer provides limited support for pollinators that are active from early spring through late fall. Map out your planting plan so that at least one species is in bloom during each season. Early bloomers like crocus, hellebore, and pussy willow help emerging spring bees. Late-season asters and goldenrod sustain pollinators heading into winter preparation.
Add a clean water source
Pollinators need water, and small gardens can provide it easily. Place a shallow dish, a saucer, or a small birdbath in a sunny spot. Add a few flat stones or marbles so bees can land safely without drowning. Change the water every two to three days to prevent mosquito breeding.
Provide shelter and nesting habitat
Many native bees are solitary ground-nesters or cavity-nesters — they do not live in hives. Leave a small patch of bare, undisturbed soil for ground-nesting species. Drill holes of varying diameters (roughly 3–8 mm) into an untreated block of wood, or purchase a simple bee nesting structure, and mount it in a sheltered, sunny location at least three feet off the ground.
Eliminate or reduce pesticide use
Review your current pest management routine. Where possible, switch to physical removal, barriers, or targeted biological controls rather than broad-spectrum sprays. If you must treat a plant, wait until flowers are spent and apply products in the early morning or evening when pollinators are least active.
[important_callout]Maximize space with containers and vertical planting
A small footprint is not a barrier. Many pollinator-friendly plants — lavender, salvia, thyme, and nasturtium — thrive in containers. Group pots together on a patio or balcony to create a concentrated foraging zone. Vertical planters, trellised climbing plants like sweet peas, and window boxes all extend your garden's surface area upward. Our container gardening guide covers soil, drainage, and plant selection in detail.
Once plants are established, applying a layer of organic mulch around the base — but not piled against stems — helps retain moisture and regulate soil temperature. Our guide to mulching explains which materials work best for different garden types.
Check Invasive Status Before Planting
Some flowering plants promoted for pollinators — such as certain mint species or butterfly bush (Buddleja davidii) — can spread aggressively and are listed as invasive in parts of the US. Check with your local cooperative extension service before introducing any new species to your garden.