

Key Takeaways
Why Fluid Checks Matter
Your car depends on a network of fluids to lubricate moving parts, regulate temperature, transmit force, and keep your view clear. When any of these fluids drop too low or degrade over time, the consequences can range from minor inconvenience to serious mechanical failure or safety risk.
The good news is that checking and topping up most fluids is a task almost any driver can handle in a parking space or driveway — no specialist equipment needed. Making it a habit every month or so, and before long trips, is one of the most cost-effective things you can do as a vehicle owner. For a broader picture of routine upkeep, see our routine maintenance checklist that covers all the key servicing intervals.
What you will need
What You'll Need
Before you start, gather a few basic items to make the job easier and cleaner. Refer to your vehicle's owner's manual throughout — it identifies the correct fluid specifications for every system on your specific car.
Owner's Manual
Identifies the exact fluid specifications, reservoir locations, and capacity limits for your specific vehicle.
Lint-free rags or paper towels
Used to wipe the oil dipstick clean before taking an accurate reading, and to clean up any drips.
Flashlight or work light
Helps you see fluid levels in reservoirs and locate components in a dimly lit engine bay.
Funnel
Allows you to pour fluids into narrow reservoir openings without spilling onto other engine components.
Nitrile gloves
Protects your hands from brake fluid (which is corrosive) and engine oil during checks and top-ups.
Step-by-Step: Checking and Topping Up Each Fluid
Work through the five main fluid systems below. Always start with the engine cold and park on a level surface — both conditions affect the accuracy of your readings.
Check the Engine Oil
Locate the oil dipstick — typically a brightly colored loop or handle near the front of the engine. Pull it out, wipe it clean with a rag, reinsert it fully, then pull it out again. The oil level should fall between the two marks (often labeled MIN and MAX, or with notches). The oil should look amber to dark brown. If the level is low, add the grade specified in your owner's manual in small amounts, rechecking after each addition.
Check the Coolant (Antifreeze)
Find the coolant reservoir — a translucent plastic tank usually connected to the radiator by a hose. Check the level against the MIN and MAX markings on the side of the reservoir; you should not need to remove the cap for this check. If the level is low, allow the engine to cool completely before opening the cap, then top up with the coolant type specified in your manual (pre-mixed or concentrate mixed to the right ratio).
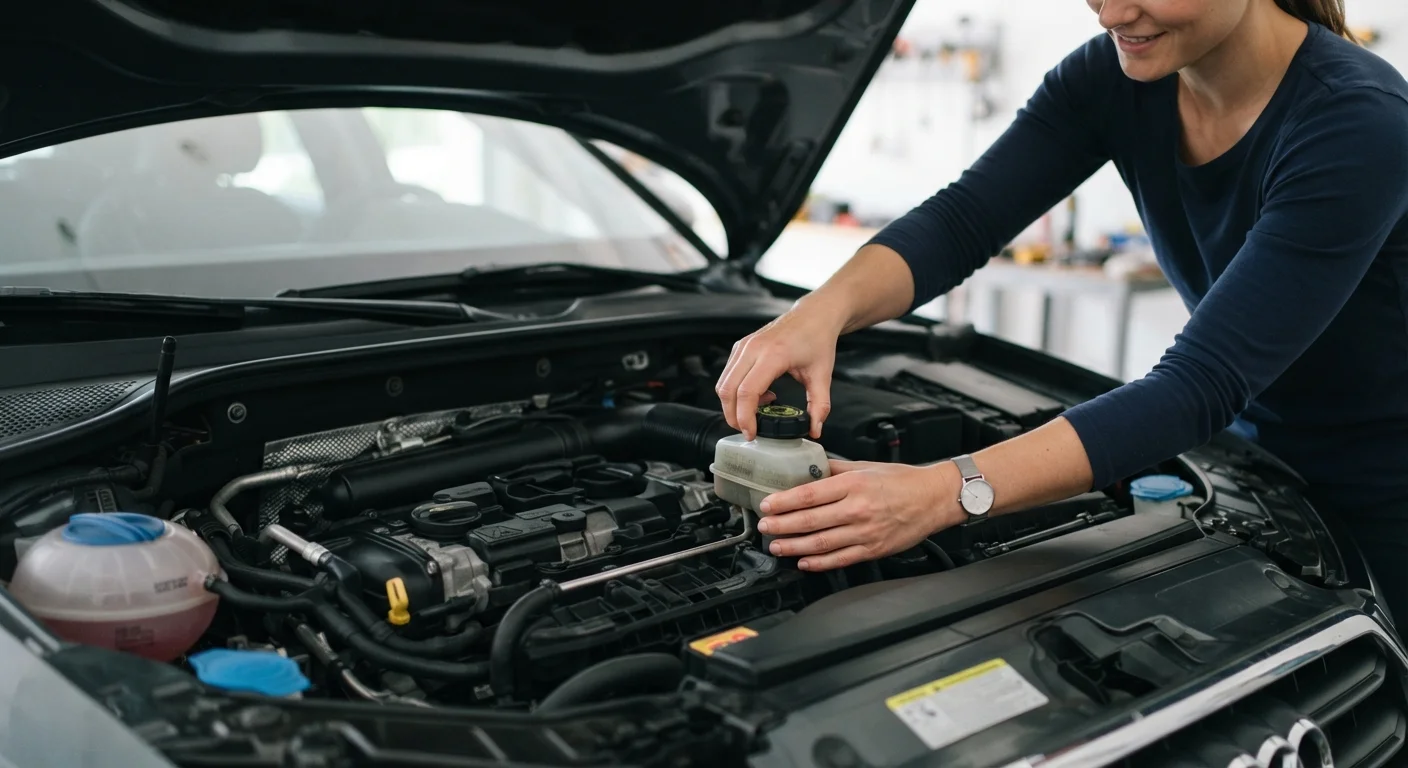
Check the Brake Fluid
The brake fluid reservoir is a small, semi-transparent plastic container near the back of the engine bay on the driver's side, mounted on the brake master cylinder. Check the level through the reservoir wall — it should sit between MIN and MAX. The fluid should appear clear to light golden. If it is very dark, a fluid change may be due; consult a mechanic. If the level is low, top up only with the brake fluid specification (DOT 3, DOT 4, or DOT 5.1) printed on the reservoir cap or in your manual.
Check the Power Steering Fluid
Many modern vehicles use electric power steering and have no power steering fluid to check — confirm this in your owner's manual. On vehicles with hydraulic power steering, locate the reservoir (often labeled with a steering wheel icon) and check the level either via a dipstick on the cap or through translucent reservoir markings. Top up with the type specified in your manual if needed.
Check and Fill the Windshield Washer Fluid
The washer fluid reservoir is typically a translucent container with a windshield-and-wiper icon on the cap. Check the level and top up with pre-mixed washer fluid rated for your climate. In colder regions, use a formulation rated to below freezing temperatures to prevent the lines and reservoir from cracking.
Make It a Monthly Habit
Running through all five fluid checks takes around 15 minutes once you know where everything is. Pairing it with a tyre pressure check on the same day each month means you catch small issues before they become expensive repairs. See our overlooked checks guide for more simple habits that extend your car's life.
Recognizing When a Fluid Problem Is More Than Routine
Topping up fluids keeps levels correct, but consistently low readings can signal an underlying issue. Engine oil that drops noticeably between monthly checks may point to a leak or internal consumption. Brake fluid that falls below the minimum line without obvious reason warrants immediate professional attention — brake systems are closed, so fluid loss typically means a leak or worn brake pads pushing fluid back into the reservoir.
If you notice discolored, milky, or gritty fluid in any reservoir, do not simply top it up. Contamination often indicates a more serious problem requiring a mechanic's diagnosis. Dashboard warning lights are another important signal — our guide to reading warning lights can help you interpret what your car is telling you before the situation escalates.
For tasks that go beyond a simple top-up — such as a full flush and refill — refer to our guide on DIY vs. garage work to decide whether to tackle the job yourself or hand it to a professional. Fluid checks also become more critical at seasonal transitions; our seasonal car maintenance guide covers what to prioritize as temperatures change.
Brake Fluid Loss Is a Safety Alert
If your brake fluid level drops noticeably without an obvious explanation such as recently replaced brake pads, treat it as a potential safety issue and have the brake system inspected by a qualified mechanic promptly. Do not continue driving if you notice any softness or increased travel in the brake pedal.