

Key Takeaways
Why Patch Testing Is Worth Your Time
It's tempting to smooth a new moisturizer or serum straight onto your face the moment it arrives — but the skin on your face is among the most reactive on your body, and a broad application of an incompatible product can cause days of redness, breakouts, or dermatitis that are difficult to reverse quickly.
A patch test is a targeted, low-risk way to check whether your skin tolerates a product before committing to full use. It doesn't require special equipment or expertise, and it takes only a few minutes of active effort — the rest is simply waiting and observing.
This matters for all skin types, not just sensitive skin. Someone with oily, resilient skin can still develop contact dermatitis from a specific preservative. Someone with dry skin might react sharply to a high-concentration active ingredient. If you're navigating products suited to your specific skin type, the skin type guide can help you understand which ingredients are more likely to pose issues for you.
"Hypoallergenic" Is Not a Guarantee
Terms like "hypoallergenic," "natural," "dermatologist-tested," or "fragrance-free" are not regulated to mean reaction-free for everyone. These labels indicate reduced likelihood of common irritants, not zero risk. Anyone can be sensitive to any ingredient — patch testing remains worthwhile regardless of how a product is marketed.
Dermatologists and allergists use a formal version of this process — called a patch test panel — to diagnose contact allergies to specific substances. The home version described here is a general tolerance check, not a clinical diagnostic procedure. If you have a history of severe allergies or eczema, consult a dermatologist before introducing new topical products.
This article provides general skincare education and is not a substitute for professional medical advice. If you experience a significant skin reaction, consult a qualified healthcare provider.
What You'll Need
The good news: patch testing requires almost nothing you don't already have at home. Here's what to prepare before you begin.
What you will need
The new skincare product
The item being tested for skin compatibility before wider application.
Mild cleanser
Used to cleanse the test area so no existing product interferes with the result.
Cotton swab or clean fingertip
Applies a small, controlled amount of product to the patch site.
Pen or marker
Optional: circle the patch site so you can monitor the same spot consistently.
How to Patch Test: Step-by-Step
Follow these steps in order for the most reliable result. The process takes about 10 minutes of active time, followed by a 24–72 hour observation window.
Choose a suitable test site
Pick an area of skin that is sensitive enough to give a meaningful result but not on your face. Good options include:
- Inner forearm — easy to monitor and representative of body skin
- Behind the ear — closer in sensitivity to facial skin, good for face-targeted products
- Inner elbow crease — useful for particularly reactive skin types
Avoid broken, sunburned, or recently shaved skin, which can give false readings.
Cleanse and dry the test area
Gently wash the test site with a mild, fragrance-free cleanser and pat it completely dry. Wait a few minutes to ensure the skin is fully dry and at a neutral baseline — residual moisture or other products can alter how your skin responds.
Apply a small amount of product
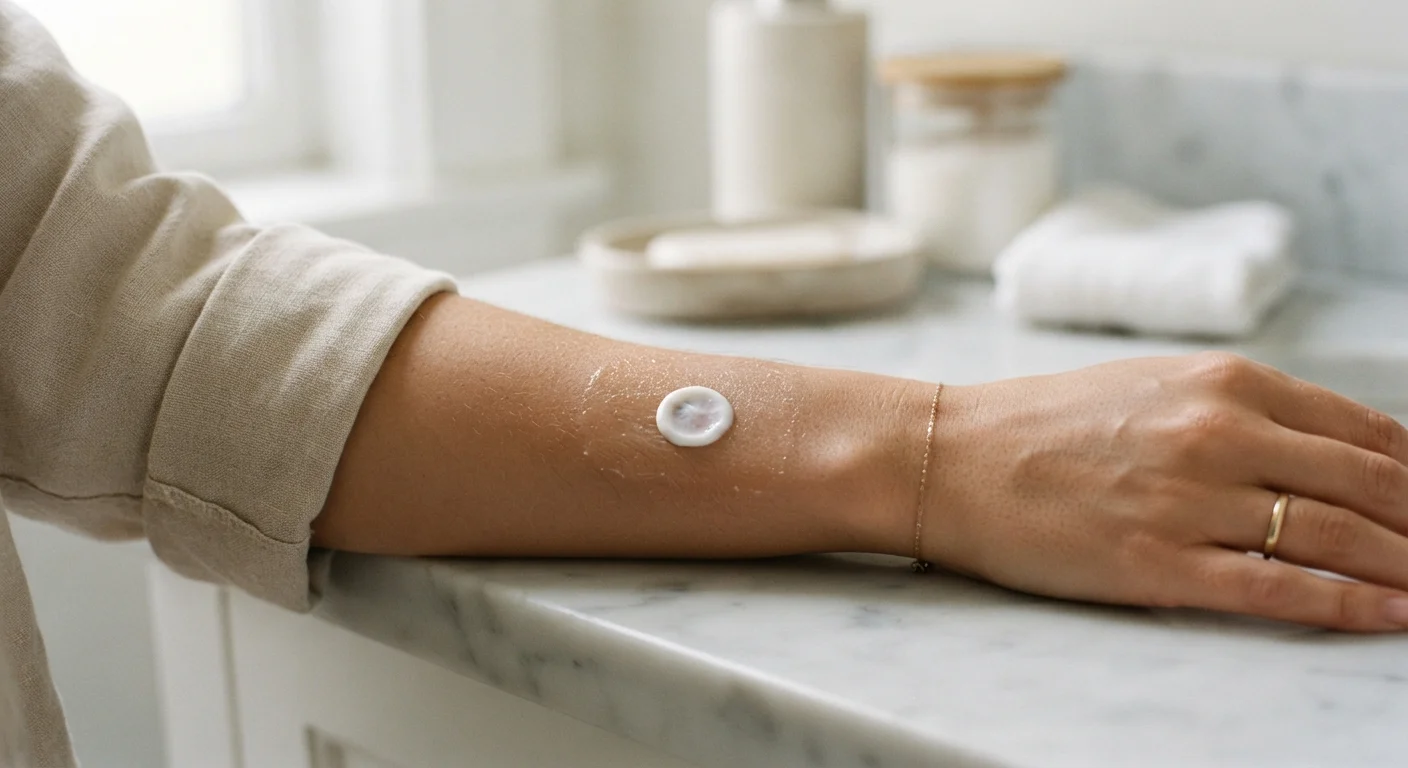
Using a clean fingertip or cotton swab, apply a pea-sized amount of the product to a small area — roughly the size of a quarter coin (about 2–3 cm in diameter). Apply it as you would normally use the product: a serum should be gently pressed in, a cream lightly spread.
If you want to track the exact spot, draw a light circle around it with a washable marker.
Leave it undisturbed and wait
Do not rinse the area, apply other products over it, or cover it tightly. Leave it exposed and undisturbed for at least 24 hours. For people with a history of delayed allergic reactions or particularly sensitive skin, extending to 48–72 hours provides a more reliable result.
Avoid wetting the test site unnecessarily during this window.
Assess the test site
Check the area at the 24-hour mark (and again at 48 hours if you extended the window). Look for:
- No reaction — skin looks and feels the same as the surrounding area. This is a positive sign for tolerability.
- Mild transient redness — can occur with some active ingredients like exfoliating acids; assess whether it fades within 30 minutes.
- Persistent redness, itching, or stinging — suggests irritation; do not apply to your face.
- Swelling, hives, or blistering — indicates a stronger allergic response; discontinue and consult a healthcare professional if severe.
Decide whether to proceed
If there is no reaction after your waiting period, you can begin incorporating the product into your routine — ideally starting with less frequent use (every other day) and building up gradually. If any concerning reaction occurred, set the product aside and allow your skin to fully recover before trying again or seeking an alternative.
Before expanding your routine further, consider running through a routine audit checklist to review how the new product fits alongside your existing steps.
One New Product at a Time
Introducing multiple new products simultaneously makes it nearly impossible to identify which one caused a reaction. Stagger new additions at least one to two weeks apart. This approach is especially important if you're building a skincare routine from scratch and adding several products in quick succession.
Some Reactions Are Delayed
Allergic contact dermatitis — a true immune-mediated skin reaction — can take 48 to 96 hours to appear, which is why a quick 10-minute check is not sufficient. If you have a known history of delayed reactions or very sensitive skin, extend your patch test window to 72 hours. When in doubt about any persistent skin symptoms, consult a board-certified dermatologist.
Once you've confirmed a product's tolerability, the next question is where it fits in your routine. Understanding how to layer skincare products correctly will help you get the most from each step without undermining others.