

Key Takeaways
Why Composting Is Worth It
Composting transforms kitchen scraps and yard trimmings into a dark, crumbly material that gardeners often call "black gold" — and for good reason. Applied to garden beds, finished compost improves soil structure, increases water retention, and delivers a slow, balanced release of nutrients that synthetic fertilizers can't replicate.
Beyond plant health, composting keeps organic waste out of landfills, where it would otherwise produce methane as it breaks down without oxygen. According to the U.S. Environmental Protection Agency, food and yard debris together make up a significant portion of what American households send to landfill each year — material that can be productively returned to the soil instead.
Whether you're starting a vegetable garden from scratch or tending established beds, having a steady supply of homemade compost gives you a reliable, low-cost soil amendment that works across nearly every planting situation.
Choosing the Right Compost Setup
The method you choose depends on your space, how much organic material you generate, and how hands-on you want to be.
- Open pile: Simply heap materials in a corner of your yard. Low effort, no cost — but slower and less tidy.
- Wire or wood bin: Encloses the pile, discourages pests, and looks neater. A good middle ground for most suburban yards.
- Tumbler: A sealed drum that rotates for easy turning. Heats up faster and deters animals, but has limited capacity.
- Worm bin (vermicomposting): Uses red wiggler worms to break down kitchen scraps indoors or in small outdoor spaces. Produces nutrient-dense castings, ideal for apartment dwellers or those with minimal yard waste.
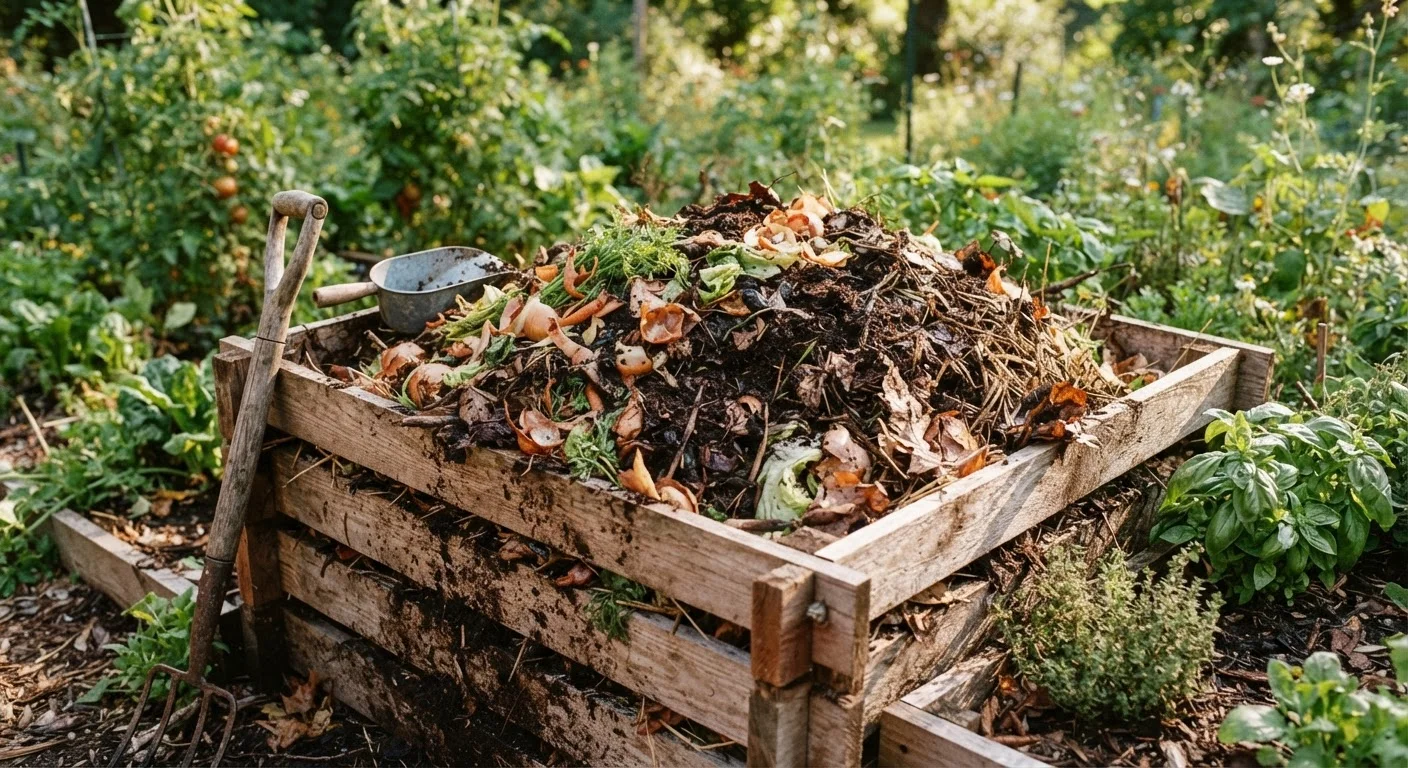
Whatever you choose, site your bin in a spot that's convenient enough that you'll actually use it — within easy reach of the kitchen door or garden beds, on level ground, and accessible for turning.
Keep a small lidded container on your kitchen counter for daily scraps — this small step removes the friction of walking to the bin every time, and you'll add to the pile far more consistently.
Convenience is the biggest predictor of whether a composting habit sticks. A countertop caddy lowers the barrier to daily participation.
Always finish adding a batch of greens by covering them immediately with a layer of browns — this simple habit prevents odors and discourages fruit flies before they become a problem.
Exposed nitrogen-rich materials are the primary source of compost odors and insect attraction; a brown layer acts as a natural lid.
What to Add — and What to Leave Out
A healthy compost pile needs two categories of ingredients, commonly called greens and browns.
Greens (nitrogen-rich materials)
- Fruit and vegetable scraps
- Coffee grounds and paper filters
- Fresh grass clippings
- Plant trimmings and spent flowers
- Eggshells (technically neutral, but a useful addition)
Browns (carbon-rich materials)
- Dry leaves
- Cardboard and paper torn into pieces
- Straw or hay
- Wood chips or sawdust (untreated wood only)
- Paper bags and newspaper
A commonly cited rule of thumb is to aim for roughly 2–3 parts browns to 1 part greens by volume. Too many greens and the pile turns slimy and smelly; too many browns and it dries out and stops breaking down.
Avoid These Common Problem Additions
Never add meat, fish, bones, dairy products, or oily cooked foods to a home compost bin — these attract rats and other pests and create persistent odors. Also avoid adding diseased plant material or weeds that have gone to seed, as a home pile may not reach temperatures high enough to neutralize them reliably.
Leave out meat, fish, bones, dairy, oily or cooked foods, pet waste, and diseased plants. These either attract pests, create odors, or introduce pathogens that home composting temperatures may not reliably neutralize.
Maintaining a Healthy Pile
Three factors keep decomposition moving: moisture, aeration, and a balanced carbon-to-nitrogen ratio.
Moisture: Your pile should feel like a wrung-out sponge — damp but not dripping. In dry weather, water it lightly. In heavy rain, cover it or move excess moisture away. A pile that's too wet goes anaerobic and smells; too dry and microbial activity stalls.
Turning: Flipping or stirring the pile with a garden fork every one to two weeks introduces oxygen and distributes heat evenly. Active, well-turned piles can reach internal temperatures of 130–160°F — hot enough to kill most weed seeds and pathogens. Less frequent turning is fine; the pile will still break down, just more slowly.
Particle size: Smaller pieces decompose faster. Chop or shred large materials before adding them — whole cabbage leaves or thick branches will sit unchanged for months.
Pairing compost with mulching practices gives your garden beds a layered approach to soil health that compounds over growing seasons.
How to Know When Compost Is Ready
Finished compost looks and smells nothing like what went in. Signs it's ready to use:
- Appearance: Dark brown to black, uniform texture — no recognizable food scraps or leaves remaining.
- Smell: Earthy, like forest floor soil. Any sour, ammonia, or rotten odor means the process isn't complete.
- Temperature: A mature pile no longer heats up when turned — microbial activity has wound down.
- Bag test: Seal a small sample in a plastic bag for a few days. If it smells earthy when you open it, it's stable and ready. A sour smell means it needs more time.
Depending on your method and climate, compost can be ready in as little as 6–8 weeks with active management, or 6–12 months in a passive pile. Cooler temperatures in fall and winter slow decomposition noticeably.
Using Finished Compost in Your Garden
Finished compost is versatile. Here are the most practical applications:
- Soil amendment: Work 2–4 inches into the top 6–8 inches of garden beds before planting to improve structure and nutrition.
- Top dressing: Spread a 1-inch layer around established plants and let it gradually work into the soil. Avoid piling it directly against plant stems.
- Potting mix component: Blend compost with other materials for container gardening — generally no more than one-third compost by volume to avoid compaction in pots.
- Lawn boost: Apply a thin layer (¼ inch) over grass and rake it in lightly to improve thin or compacted turf areas.
The spring garden readiness checklist is an ideal time to assess how much compost you have on hand and where it's needed most before the growing season begins.
Compost doesn't replace all fertilizers in every situation, but used consistently, it builds soil biology over time in ways that synthetic inputs alone cannot.